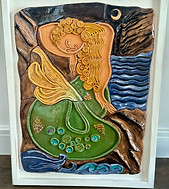
The SleepingMermaid
Follow the process of The Sleeping Mermaid from start to finish.
From mud to Mermaid, clay wall art is one of my favourite things to make in clay.


First choose a good stoneware clay, not too grogged. This is a toasted brown stoneware.
Leave it open for a few days so it's not too sticky and easy to work.
Roll the clay out to the size of the frame, remembering to allow for shrinkage.
Strengthen the clay with a wooden kidney, then smooth the clay with a rubber kidney.


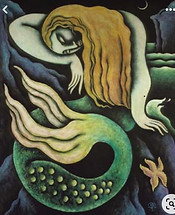
Once the picture has been decided on, (in this case The Sleeping Siren by Krista Lynn Brown)
sketch onto paper and scale to size.
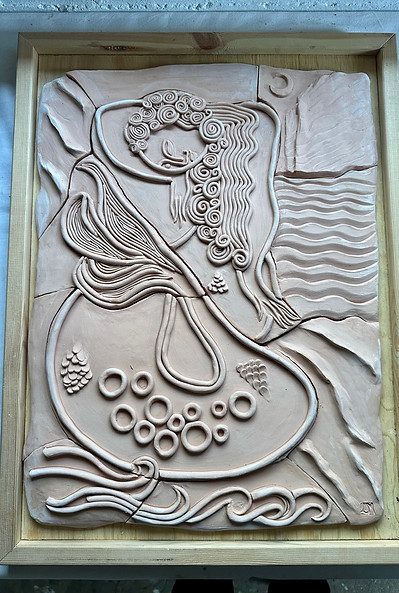
Go over the sketch with a blunt pencil or pottery tool, leaving an impression on the clay.
As the clay is tactile, I like to add textures and there will be glass incorporated, so creating coils to keep the glass from running in the kiln.


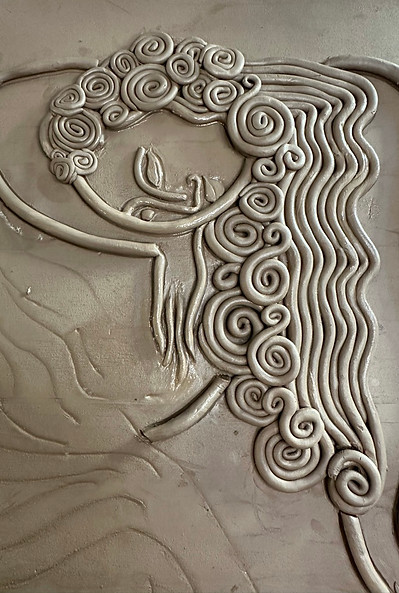

Rolling each coil, start with the main part of the mermaid, trying to keep the coils the same width, adding slip to the outline, place each coil onto the clay slab and sealing the edges of every coil added.
Working on the hair and face next, create the textures with coils and cutting the clay pieces out for the facial features.
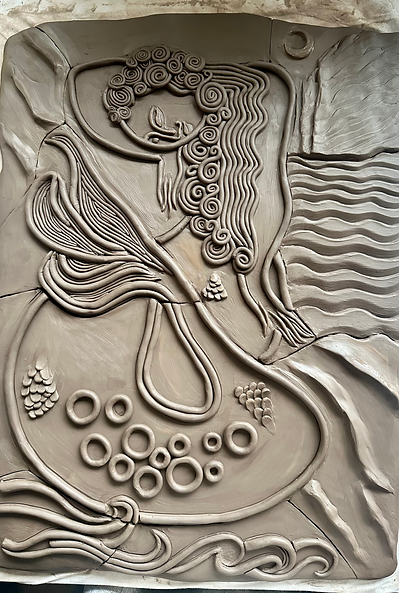
The hair and the tail of the mermaid is the most textured part of the picture. the coiled rings on the tail will have glass in them.
Create different textures for the background, making sure the mermaid is the main focus.
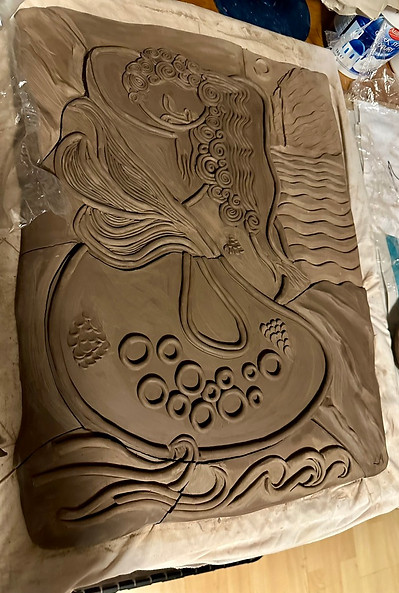
Cover the clay with a cloth for 24 hours to rest and leave to dry enough to be able to cut into tiles.
Each tile is turned over and scored on the back, to create a rough surface, which will stick to the frame back when finished.
Gently lay each section back into place. Cover the clay with a plastic sheet and leave to dry slowly, to prevent warping and cracking.
As the clay dries out it will shrink, so keep moving the tiles together as it does. The outer tiles may need covering during this process as they dry quicker than the inside tiles. Just cover with plastic, Leaving the inside open to the air.

Once the clay has completely dried out, I place each tile in the kiln and bisque fire.
This usually takes approximately 10 hours in a kiln, reaching temperatures up to 1015 degrees celsius.
Leaving the kiln to cool for a day, I then take each tile and gently wash it to remove any dust.
Each tile is then placed onto the frame ready to glaze.
I make a few test tiles for each colour, testing both the glaze, reaction and layers of the glazes.

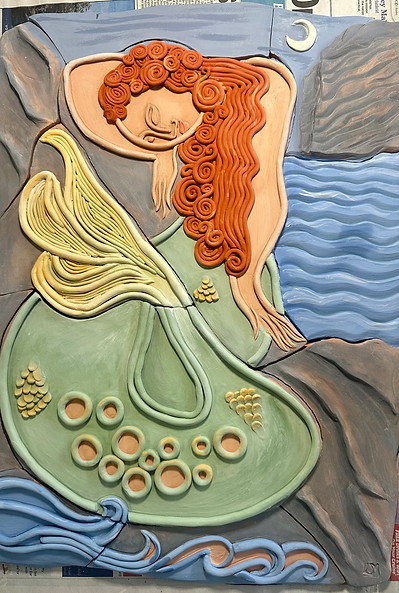
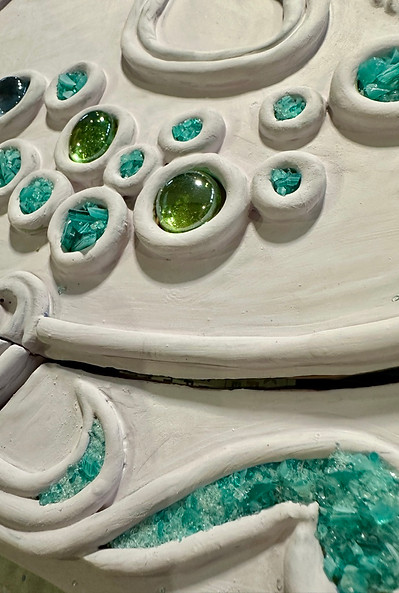
Each tile is painted with 2 coats of. underglaze, then covered with a transparent glaze, then glass is added.


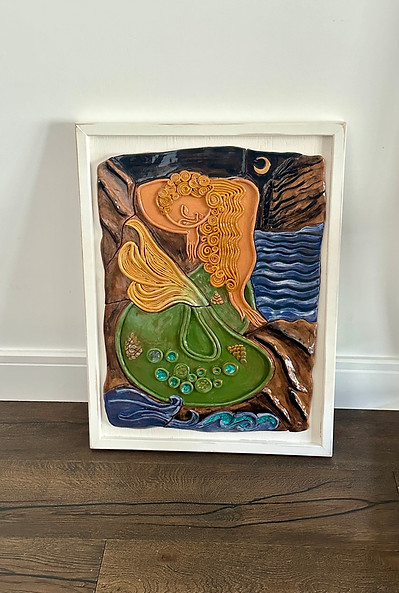
Once the glaze is dry, each piece goes back into the kiln and is fired again to 1060 degrees celcius.

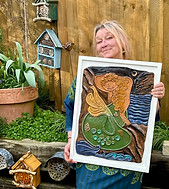
Choosing the colour of the frame to highlight the picture, paint and wax, then, using a good contact adhesive, place each piece back together on the wood.
The hanging bracket is important as the picture is heavy.


6 weeks work in 1 minute 46 seconds